DocFugu’s blog. Fighting games in Japan.
-
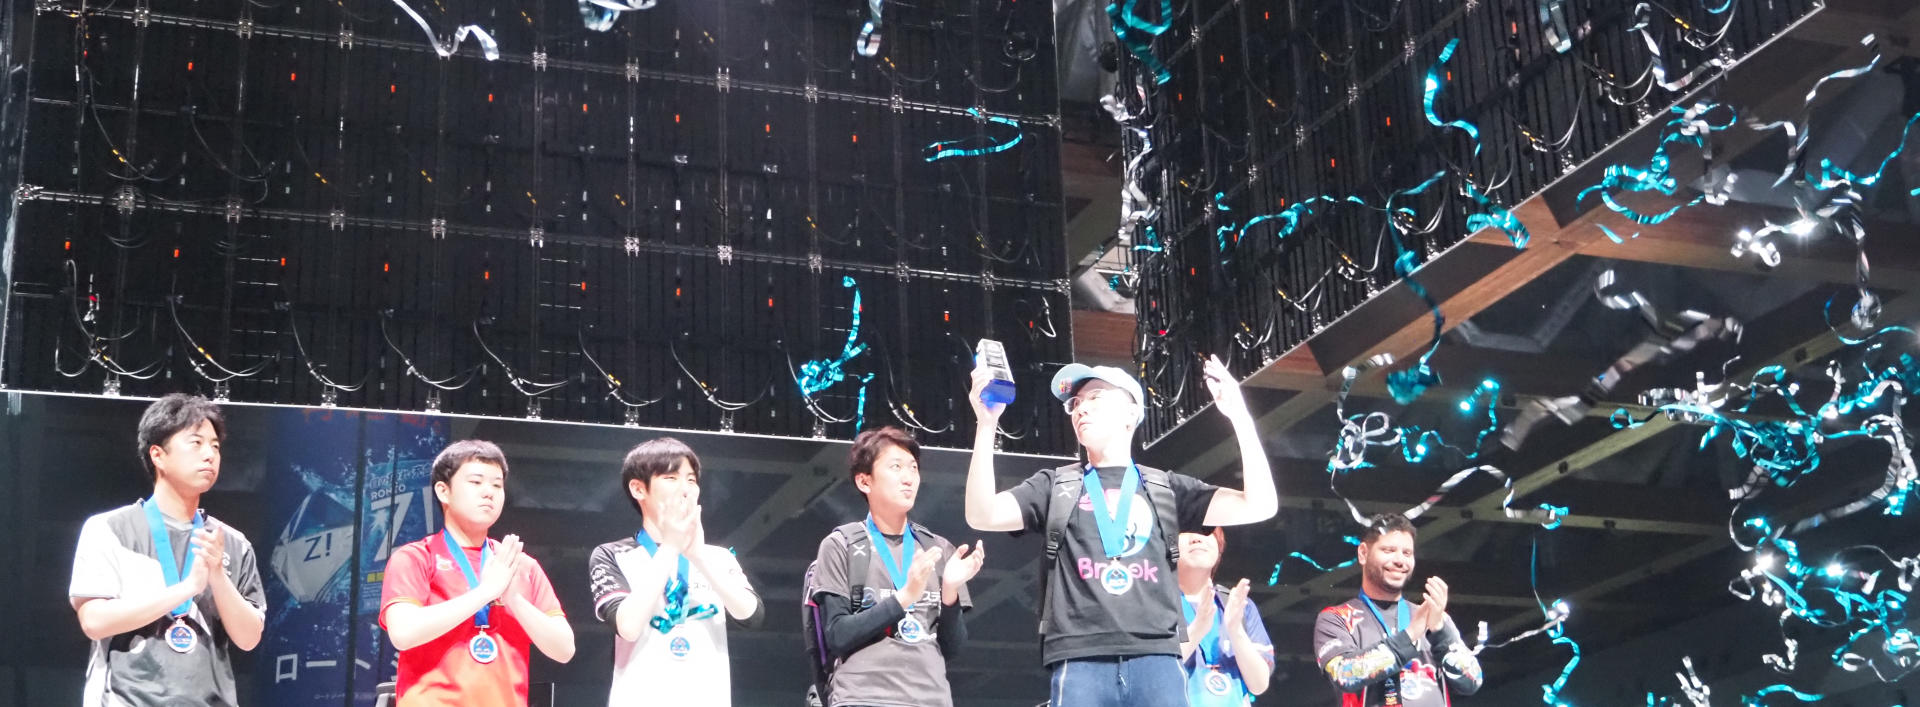
2026 EVO Japan
I volunteered at EVO Japan 2026. Here is a short post about that.
-

2025 Video Games
I played some games in 2025. Here is a list of them!
-
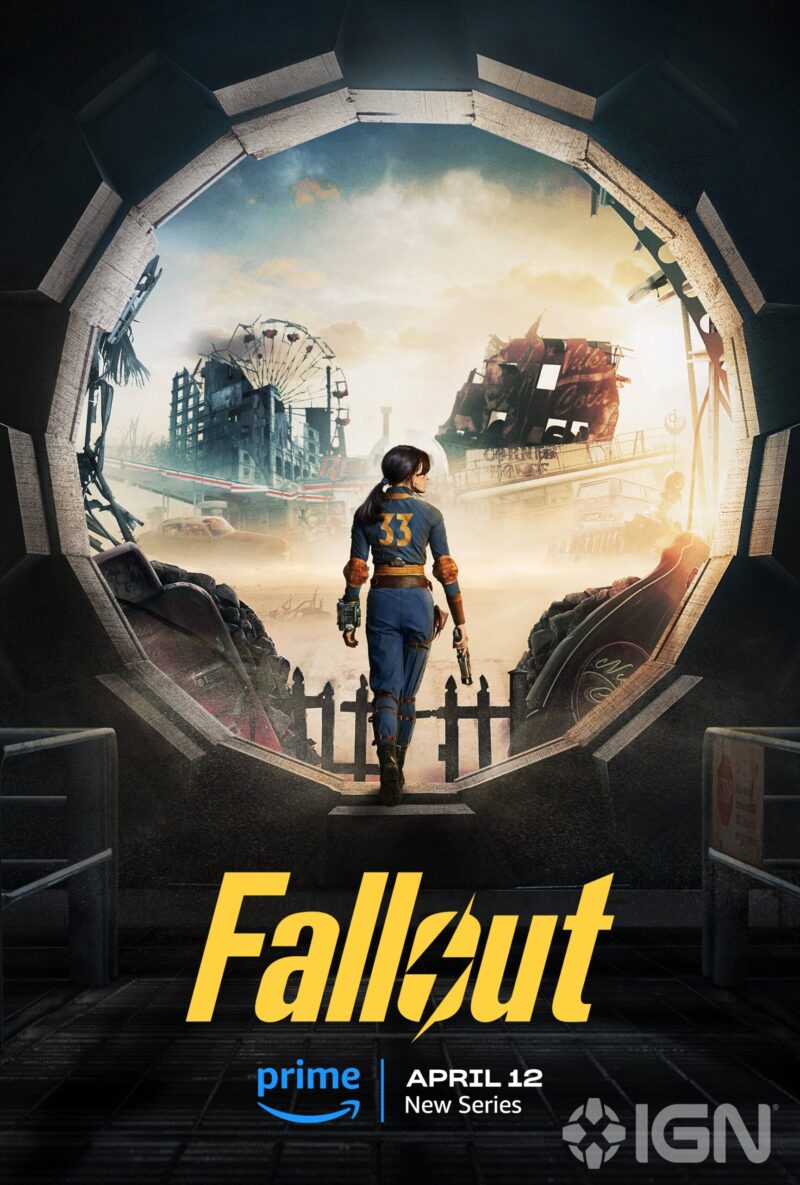
2025 Media I watched
I thought it was be fun to look back on all the media I consumed in 2025.
-

2025 Books I read
I read some books in 2025, and here is a list of them. I didn’t finish at least one of the books (guess which one!)
-
2026 Q2 Fighting Game Events going on in or around Tokyo that I know about
Fighting Game events going on in or around Tokyo that I know about for 2026 Q1.
-
2025 Q4 Fighting Game Events going on in or around Tokyo that I know about.
Offline Fighting game events going on in or around Tokyo in Q3 2025 that I know about.
-
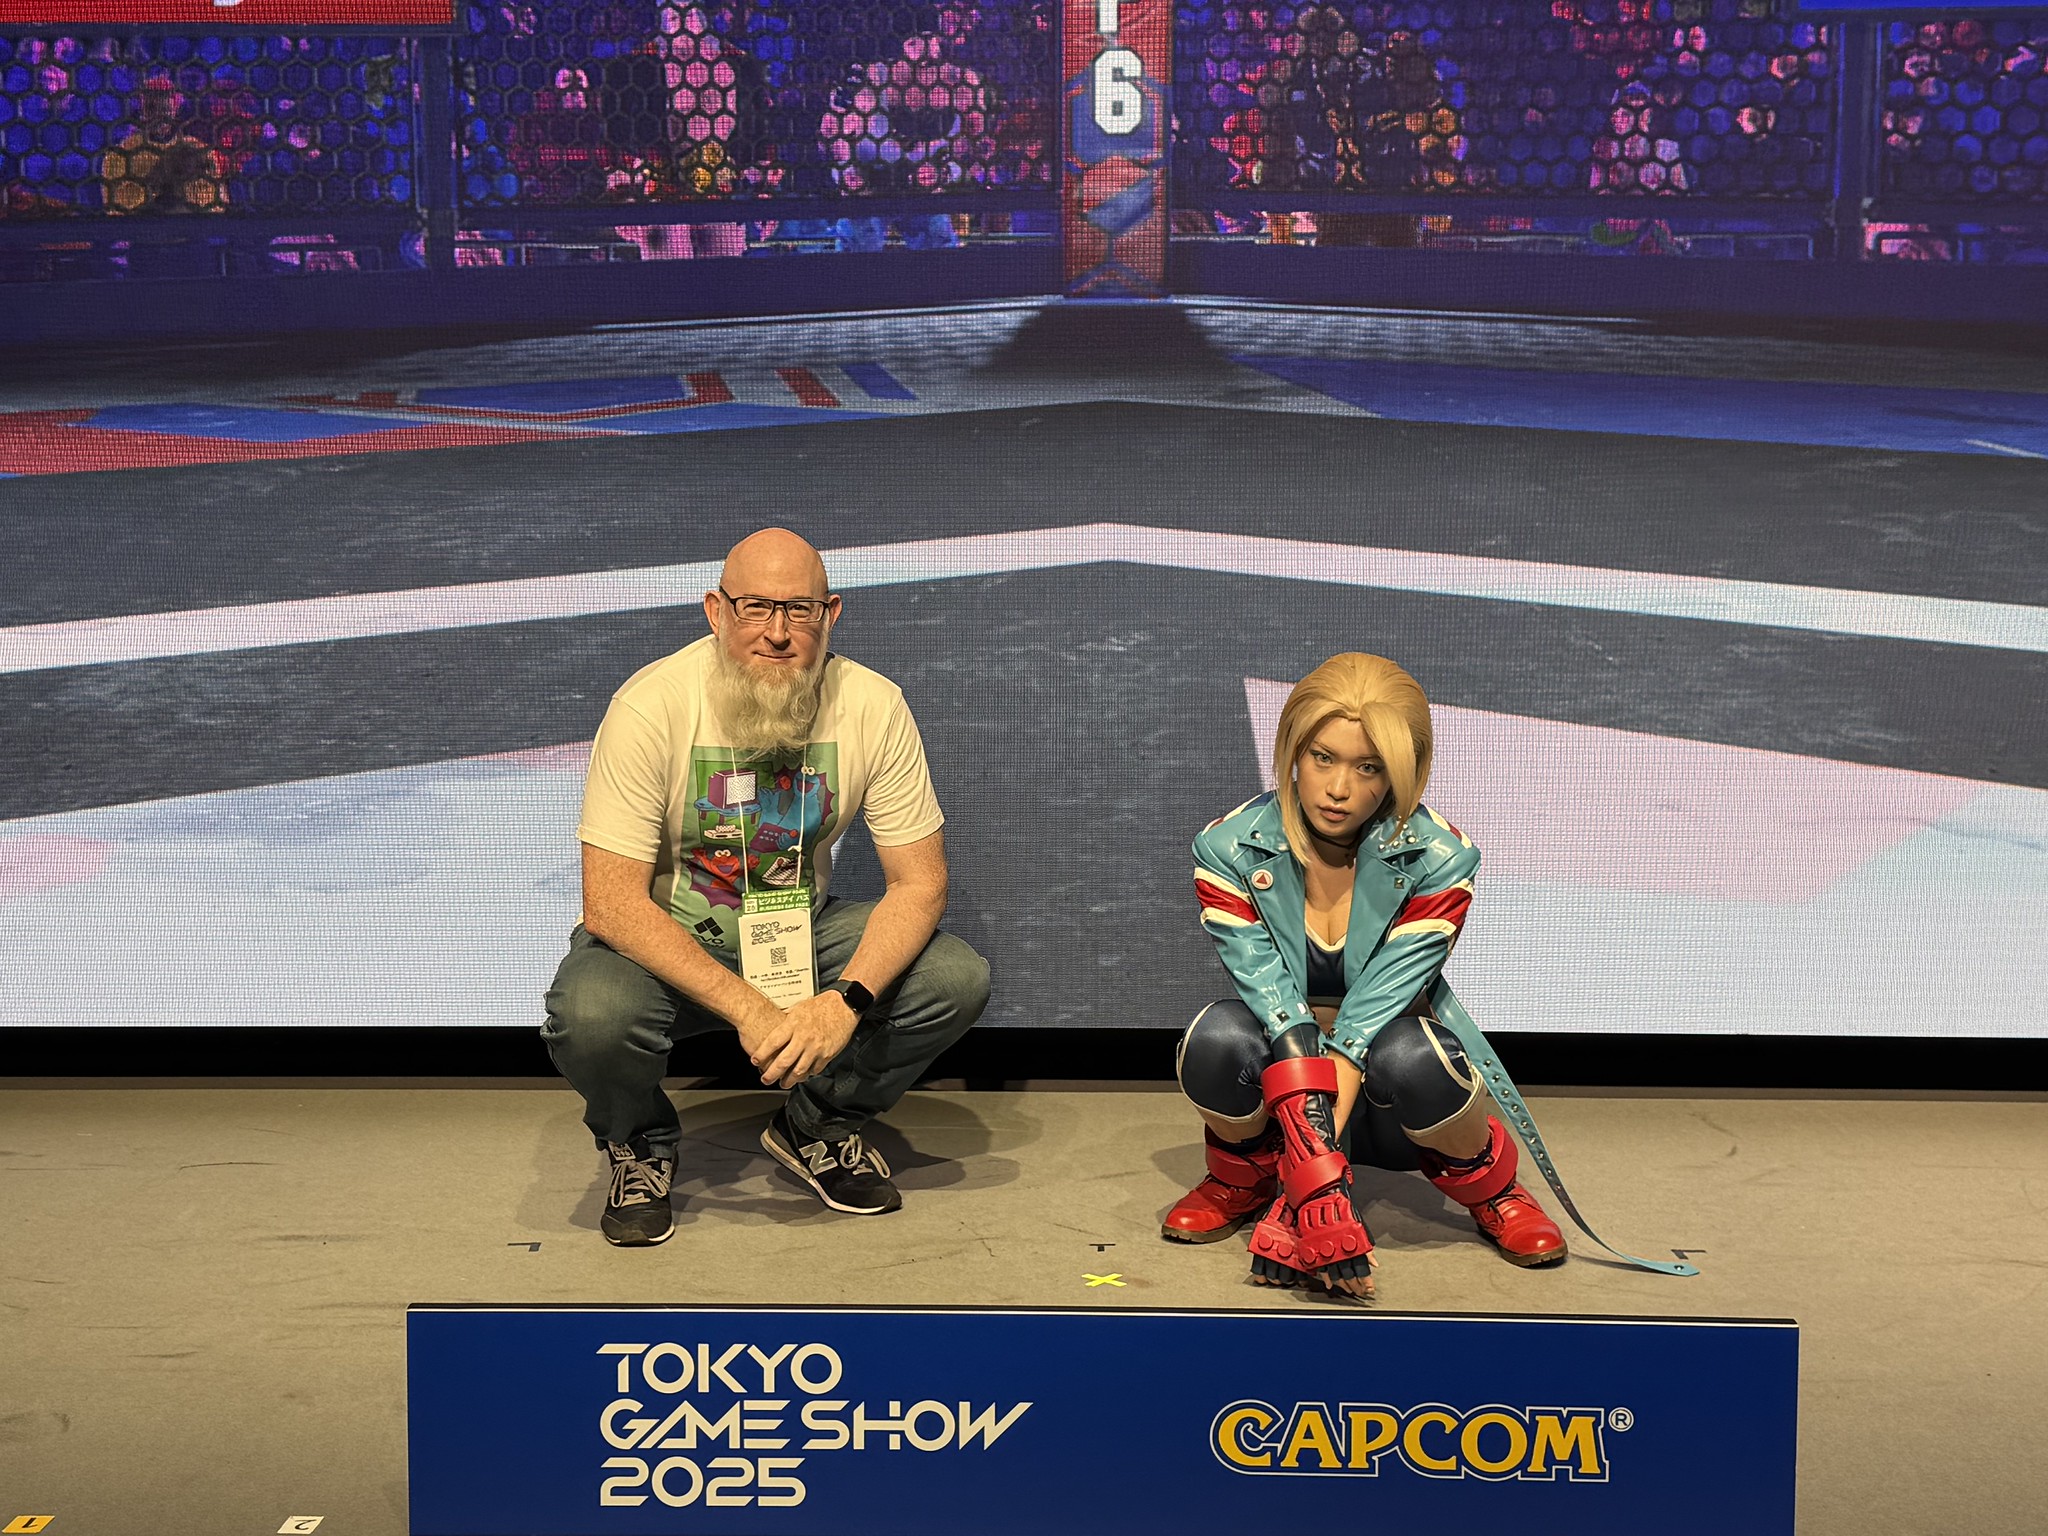
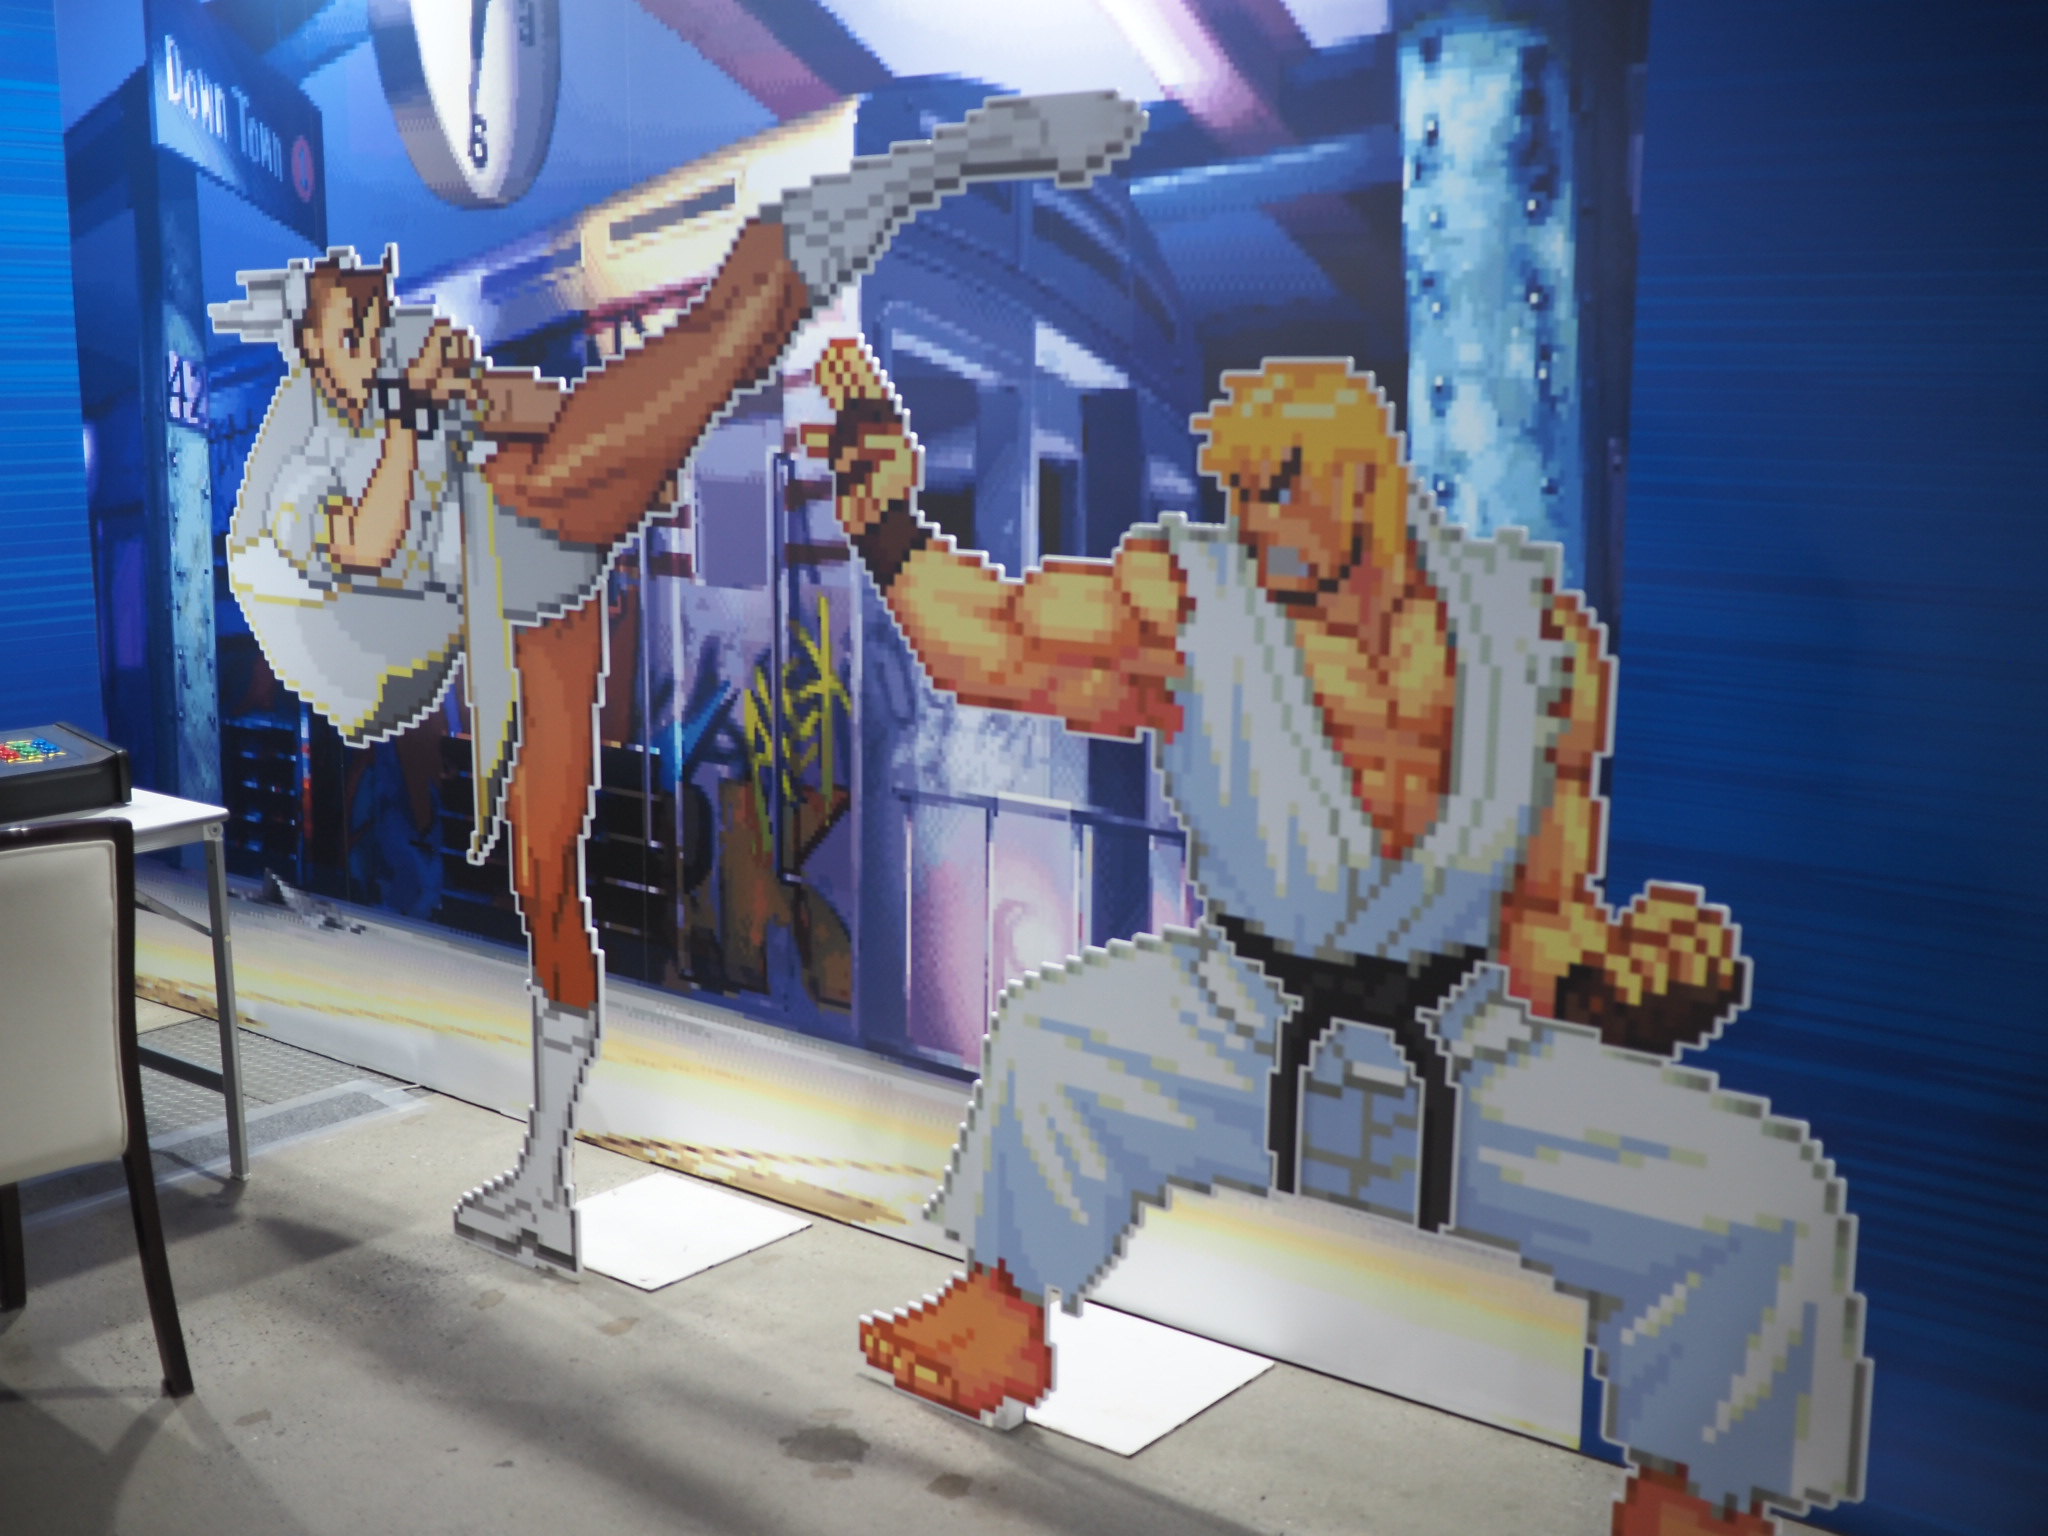
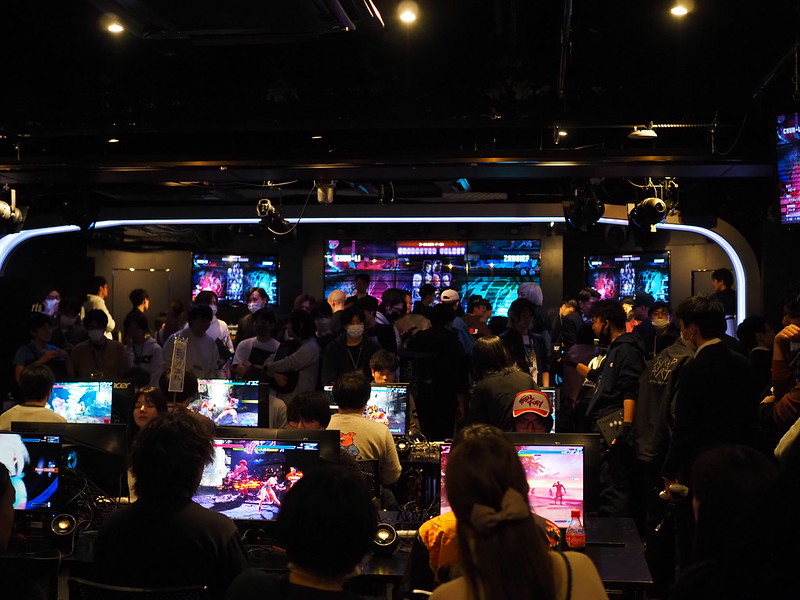
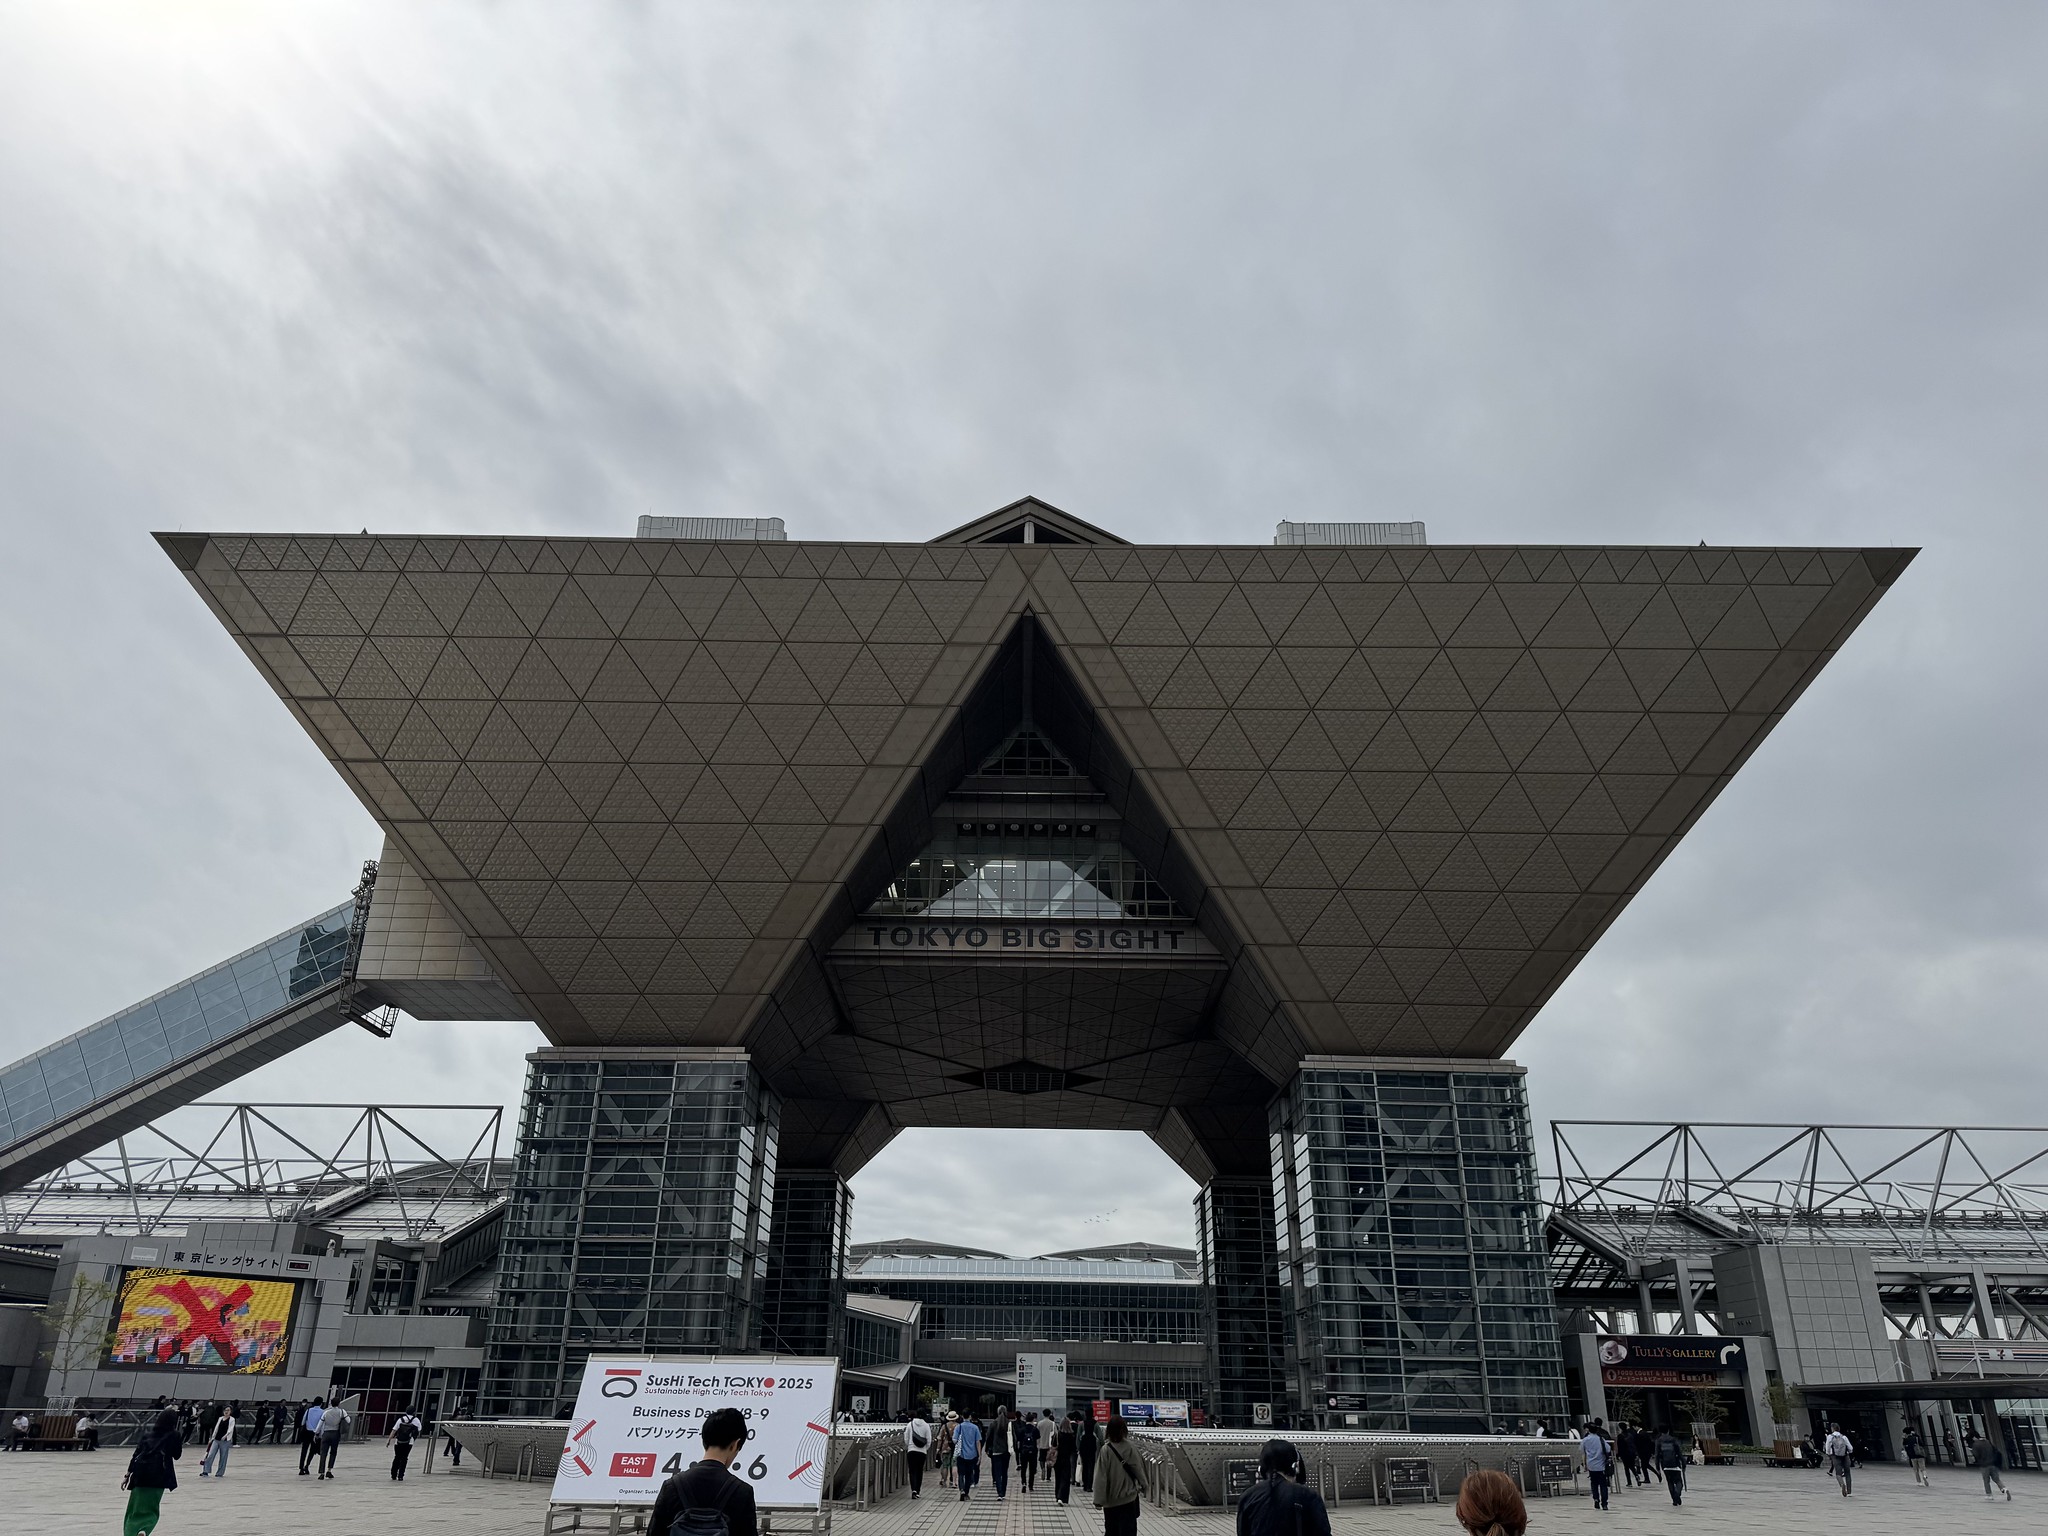
2025 Tokyo Game Show TGS
I went to the 2025 Tokyo Game Show and took some pictures. Here’s a blog post about some of what I did and saw!
-

2025 Osaka World’s Fair
The World’s Fair in 2025 was held in Osaka, at Yumeshima. A few months back, we got tickets for August, and we spent a day at the World’s Fair 2025-08-07.
-
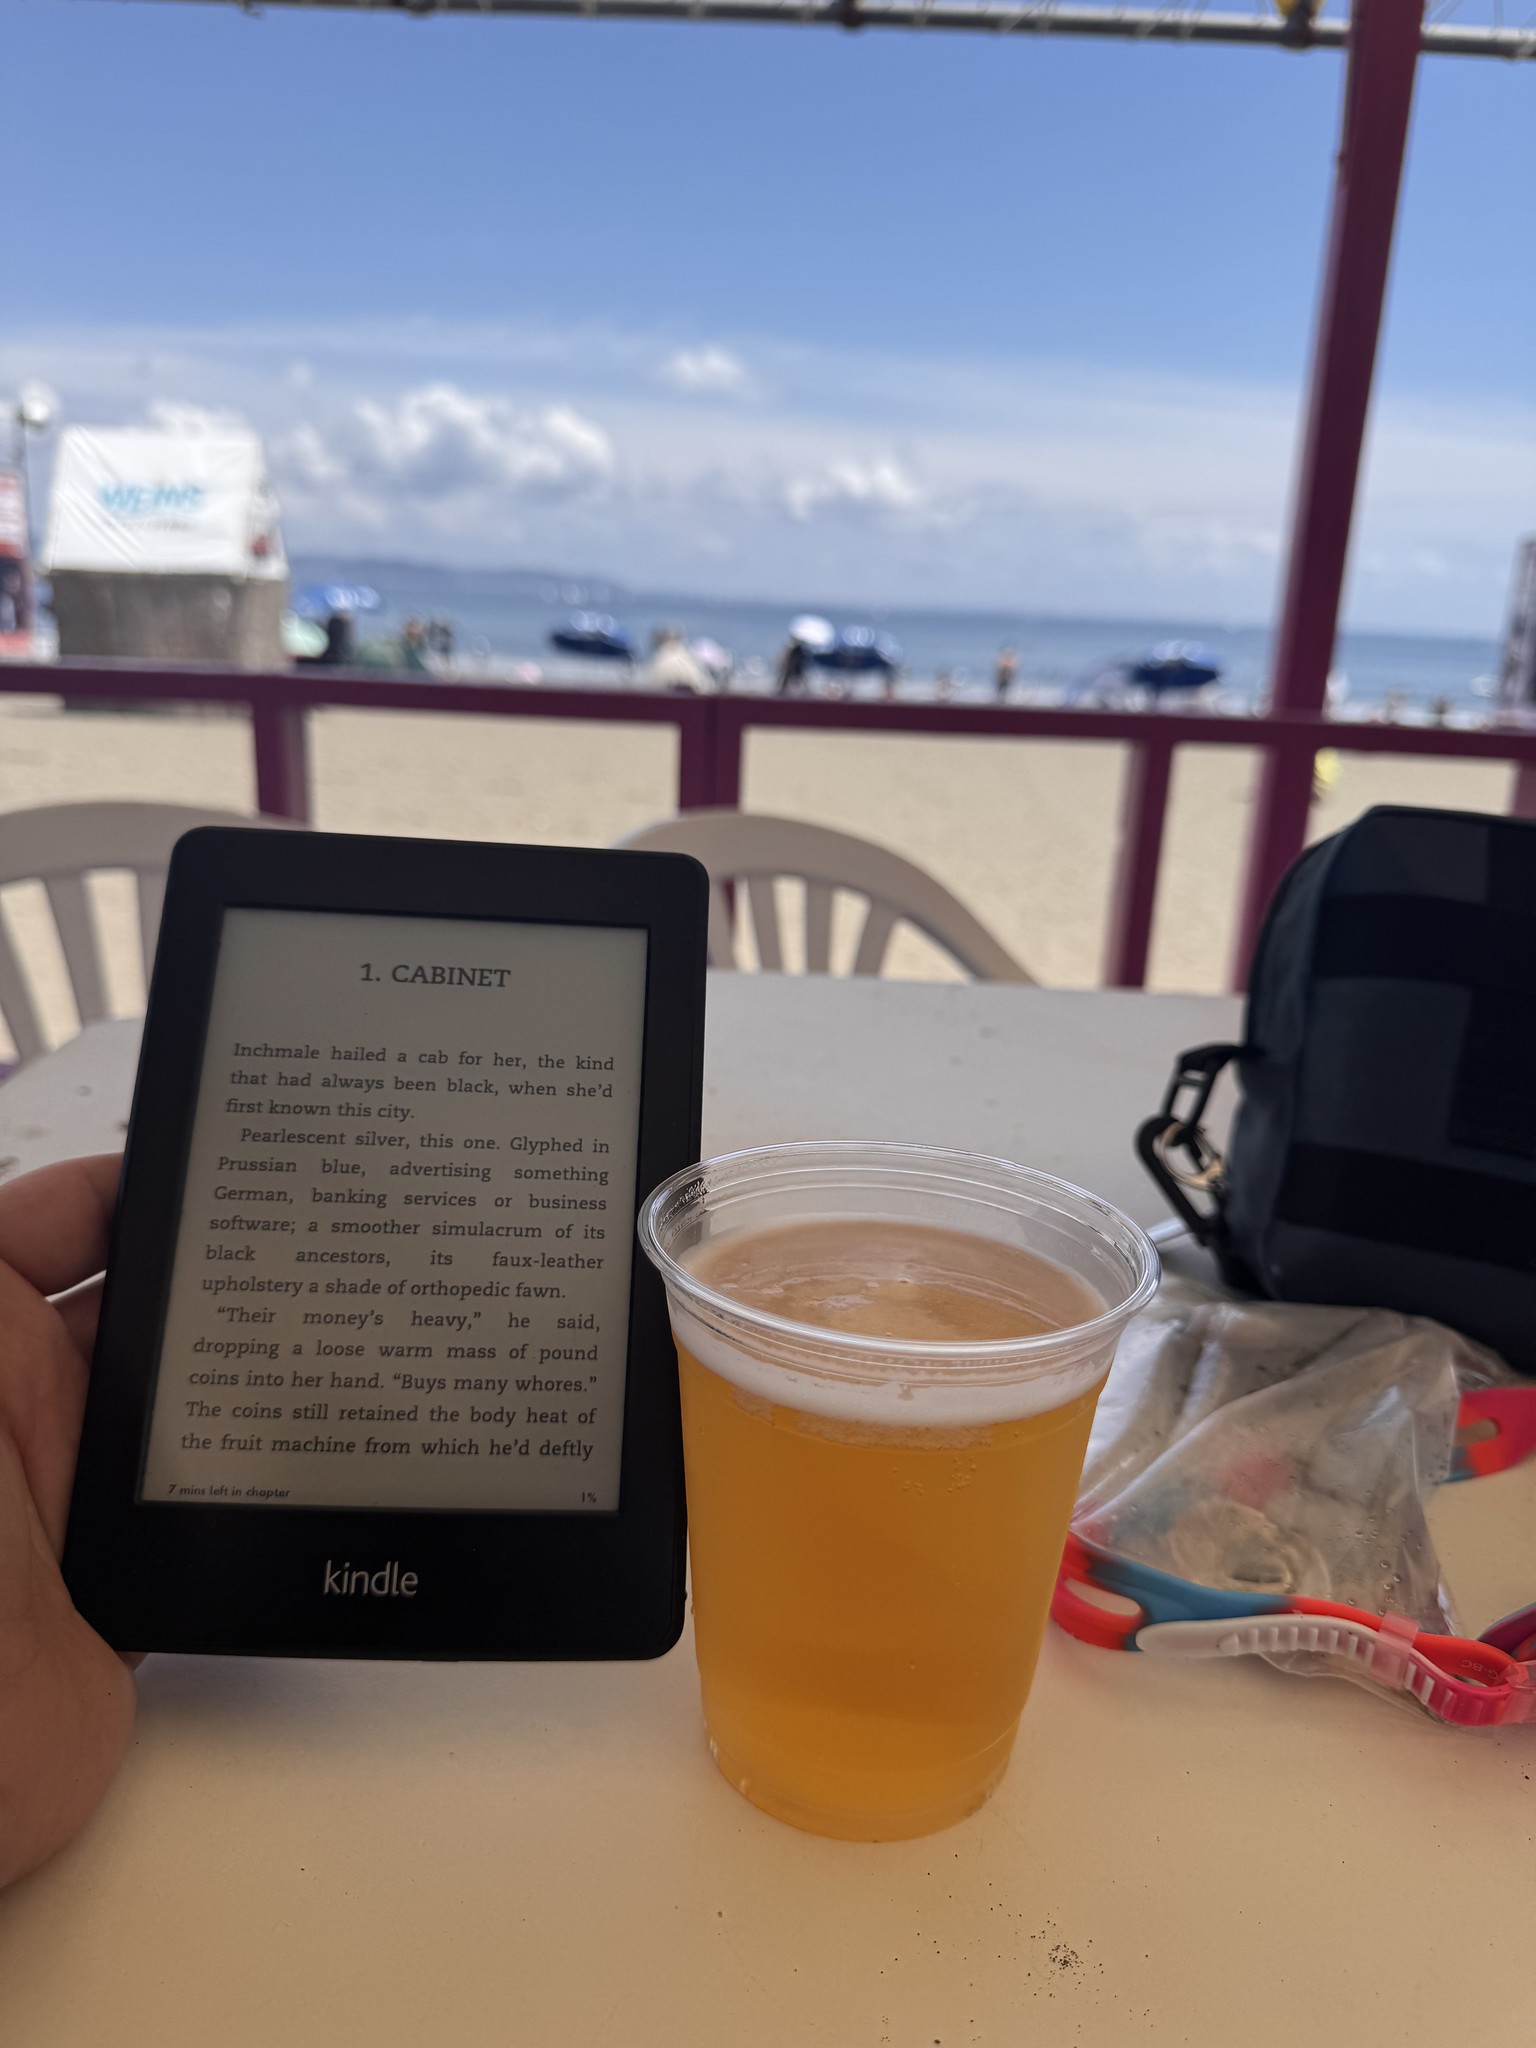
2025 July Enoshima trip
We got back from an American vacation, and then immediately went to Enoshima to meet some other friends who were visiting from America.
-
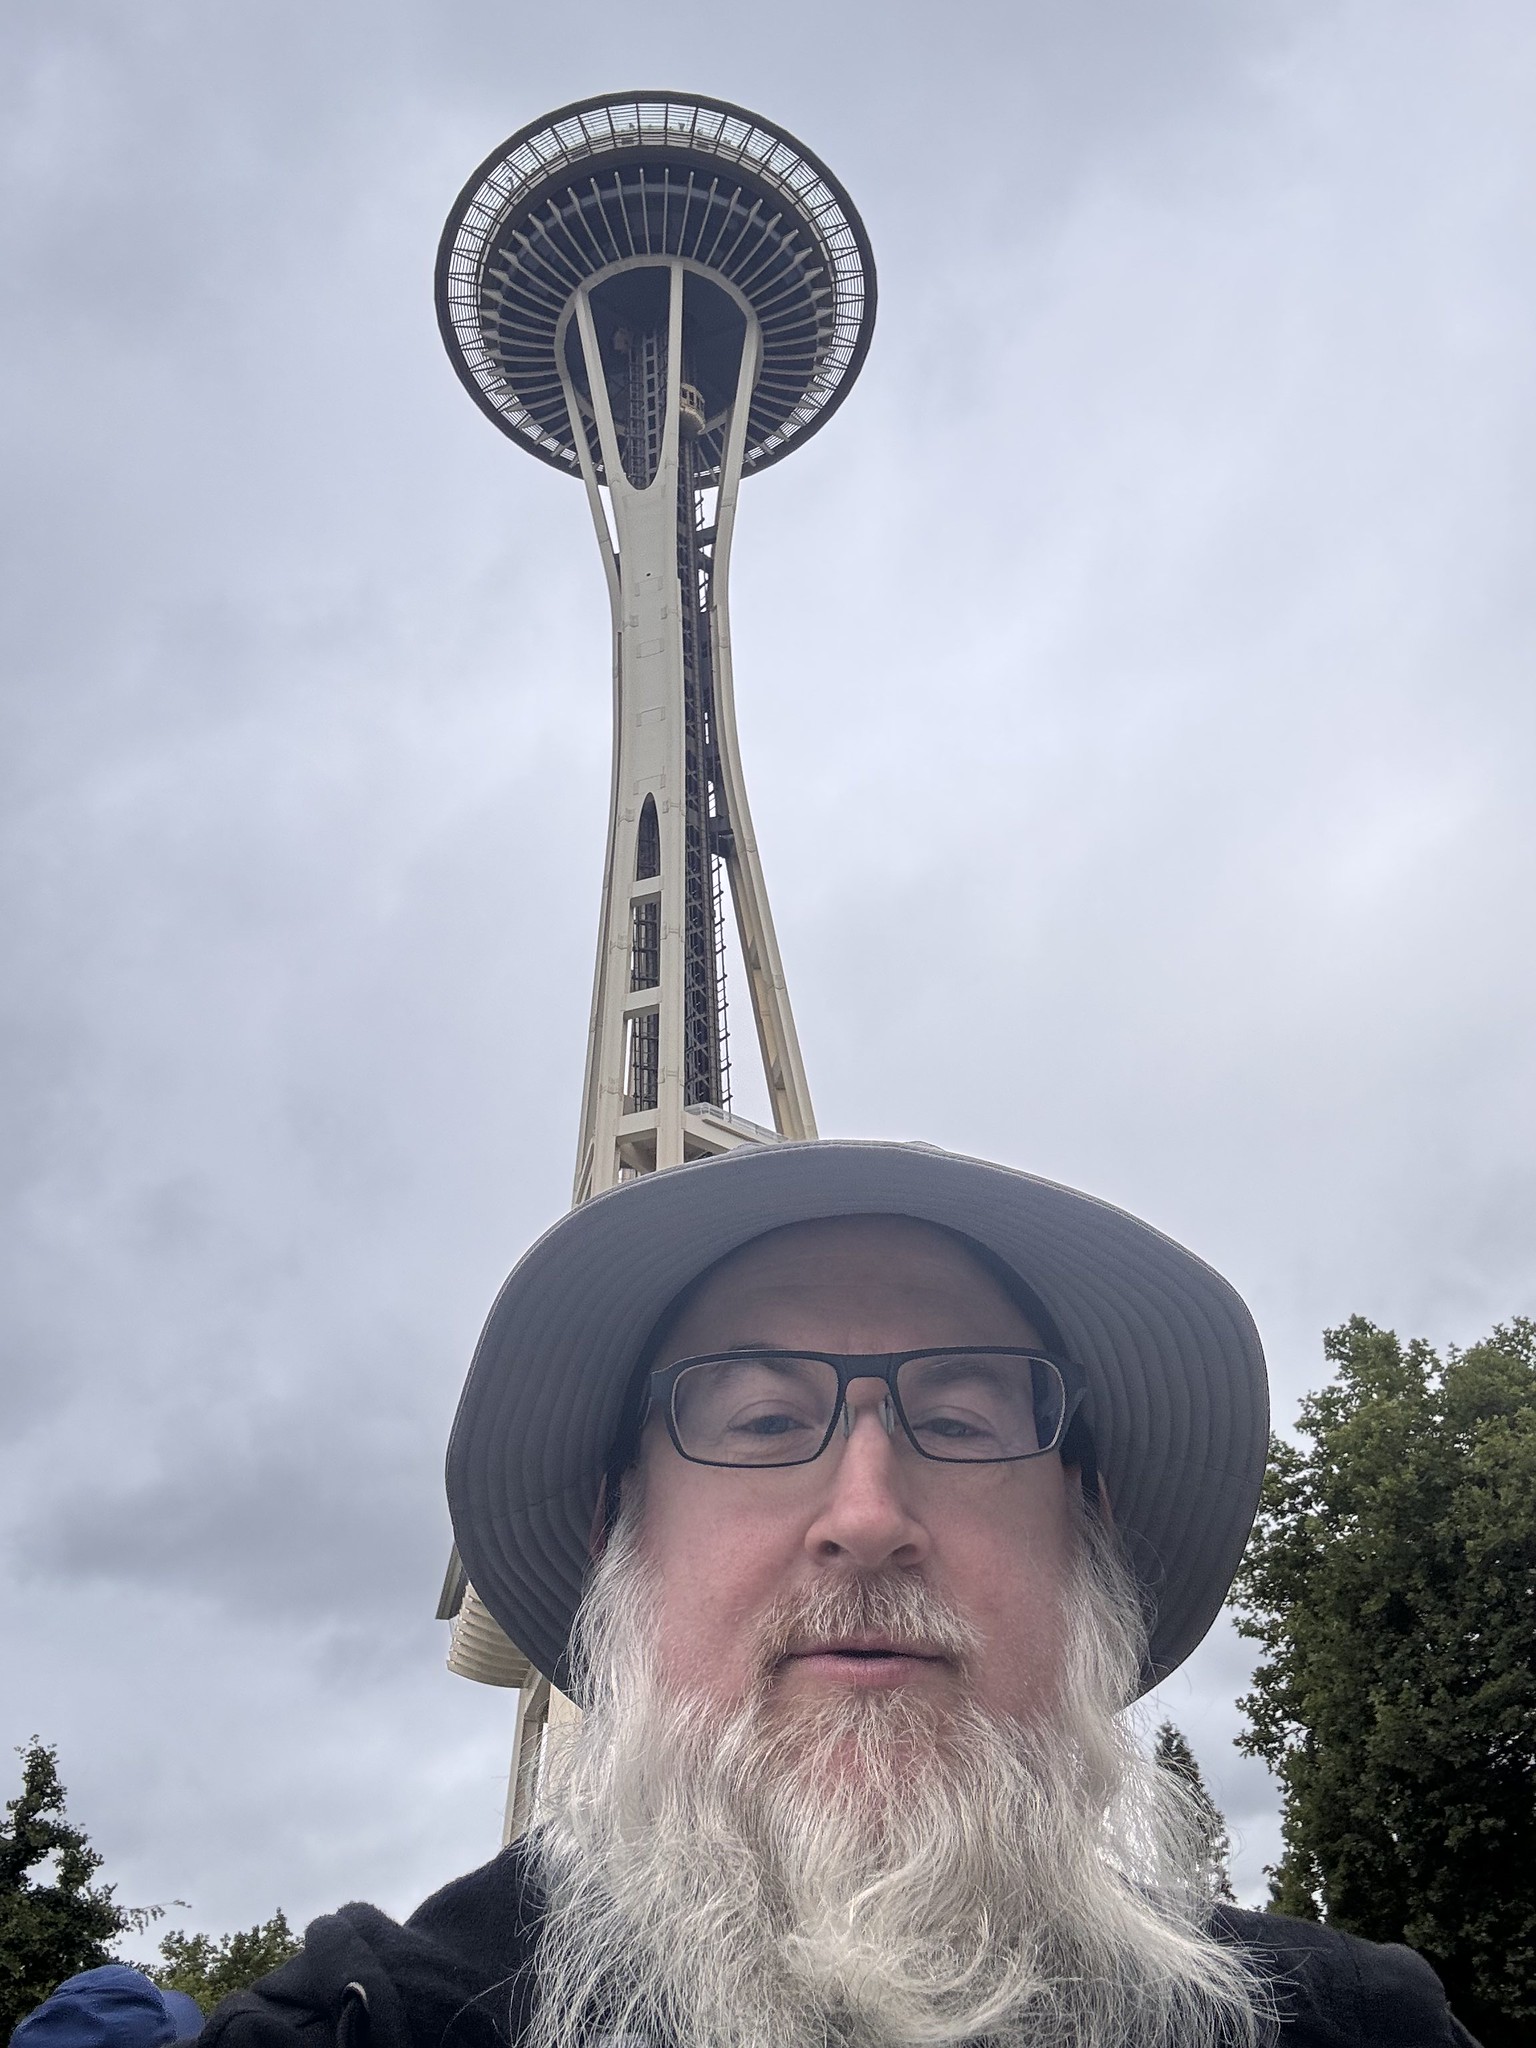
2026 Tanaka-Evans Washington Vacation
We continue our 2025 summer vacation in America with travel around Washington state.
-
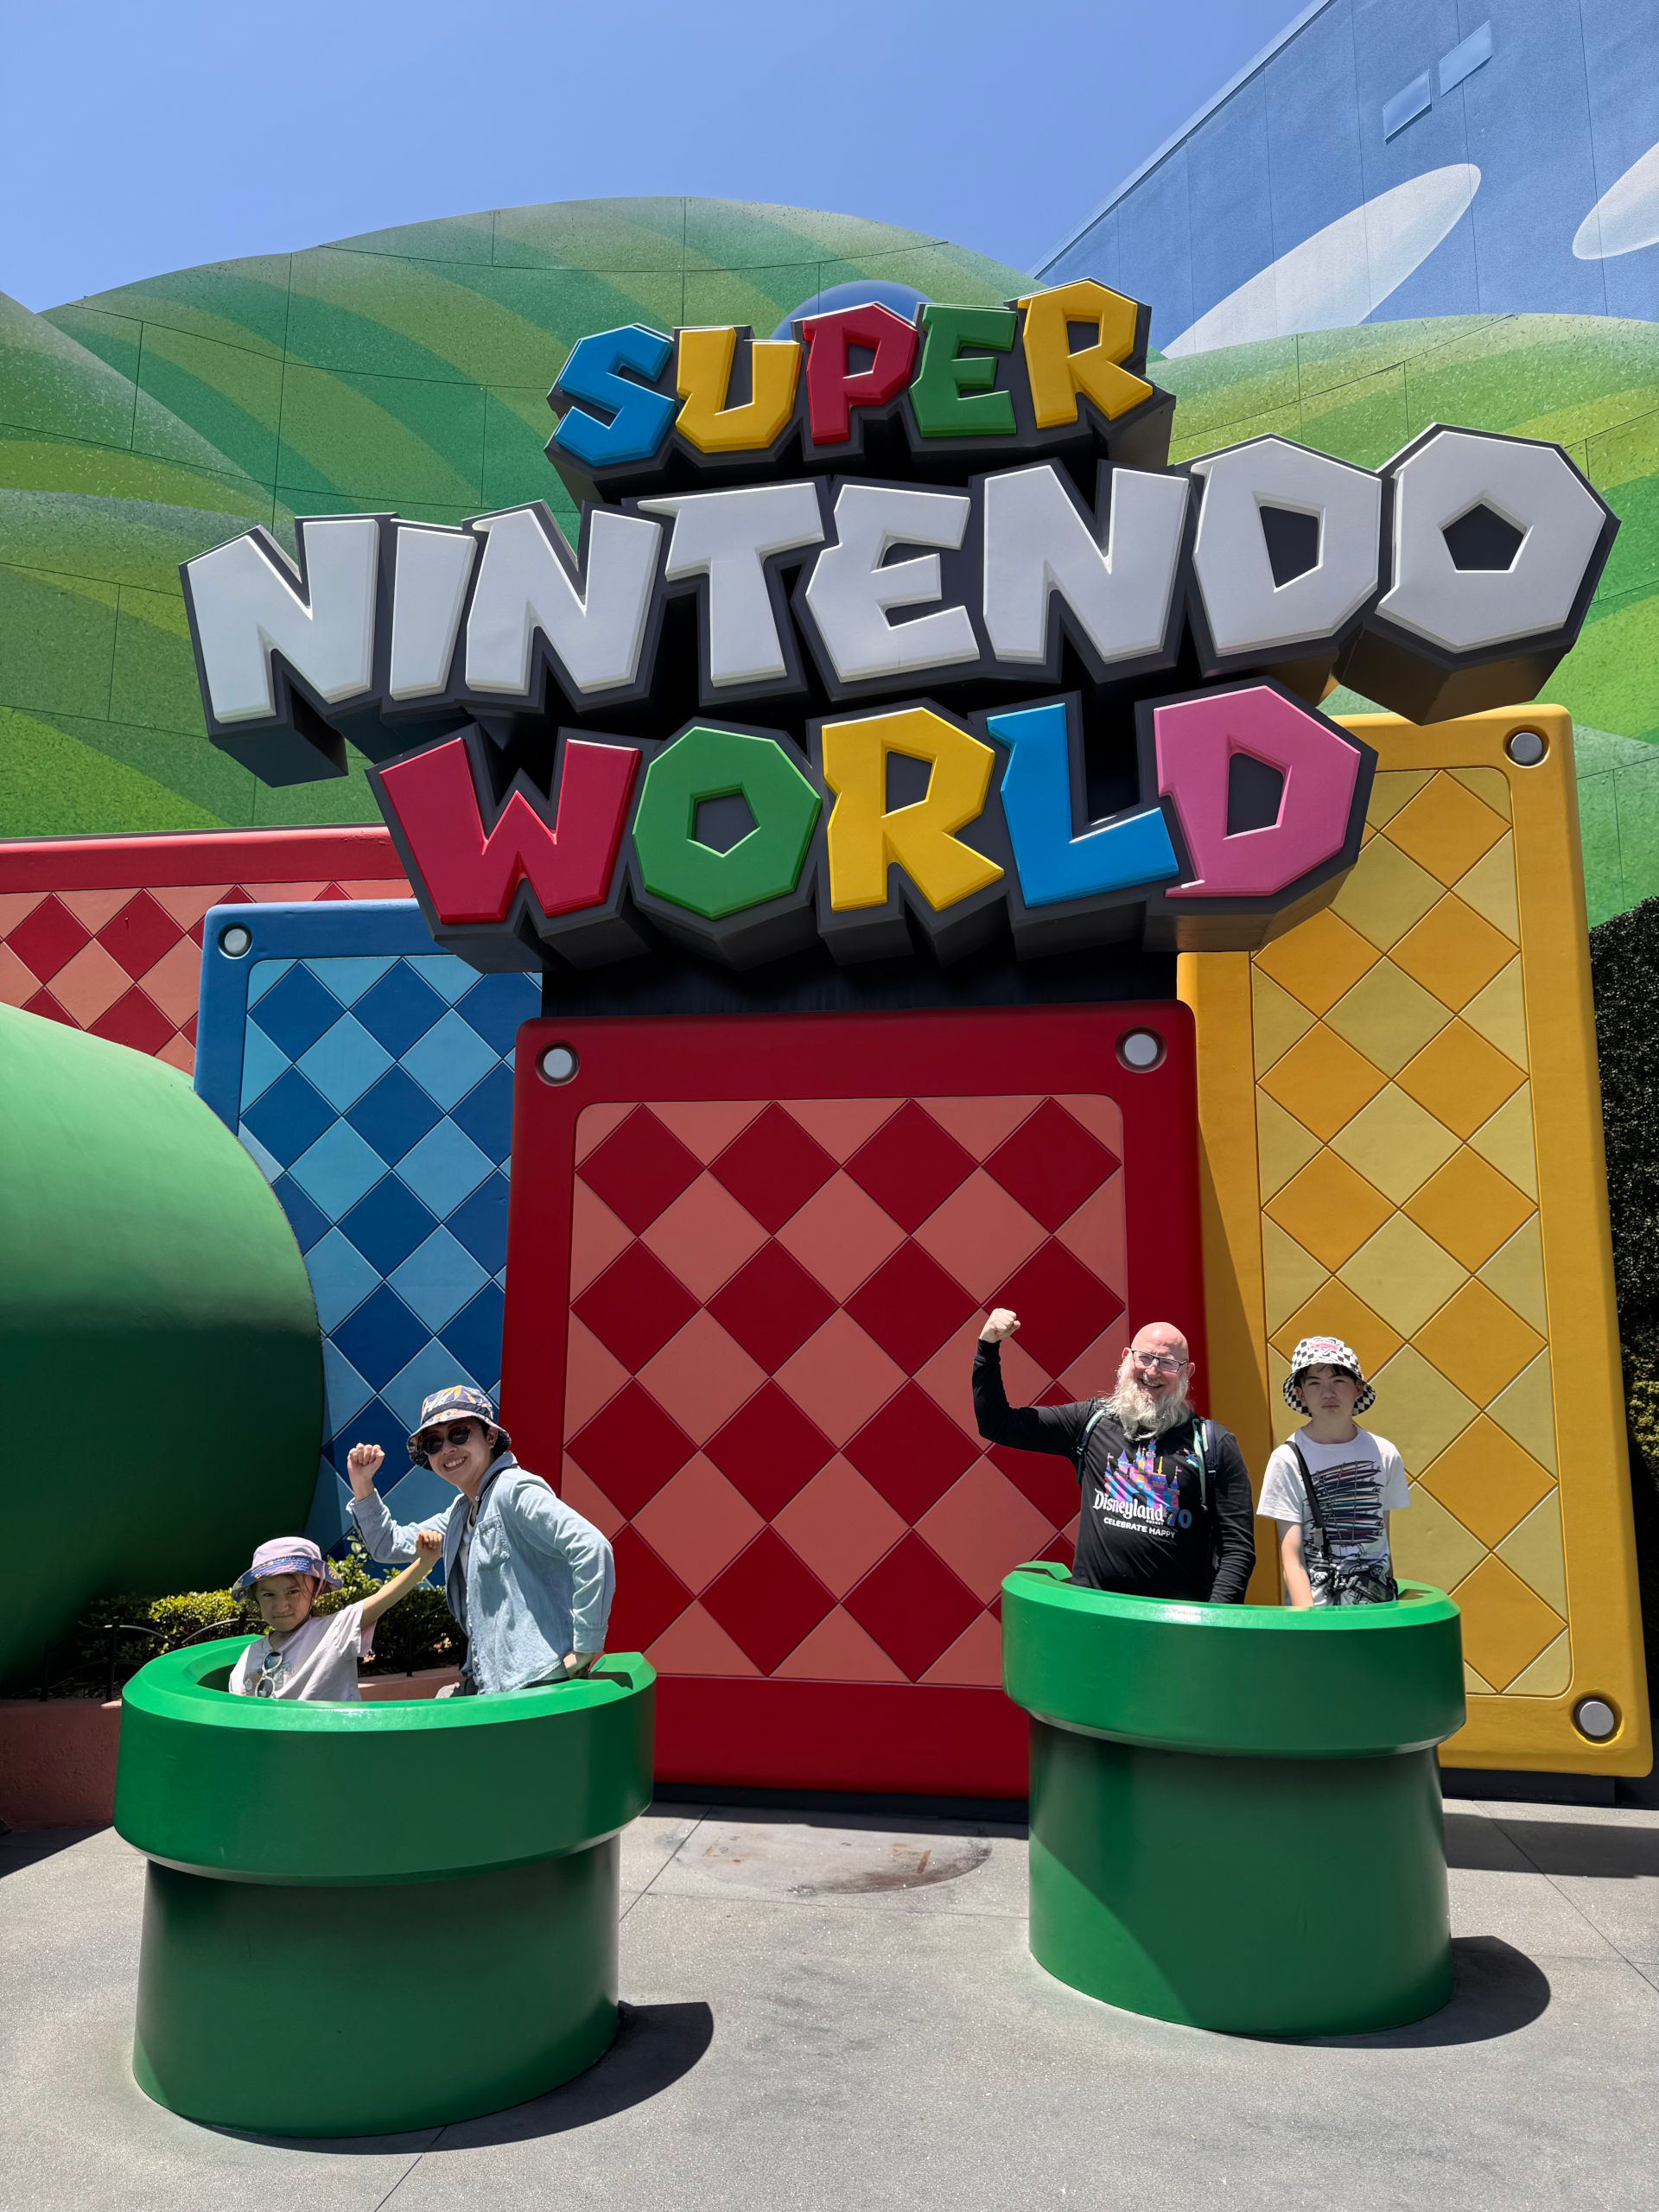
2026-06 Three Theme Parks in Three Days: Tanaka-Evans 2026 vacation
The start of our 2026 American vacation was busy: we did three theme parks in three days. Here is some writing about that!
-
My experience at EVO Japan 2025
I volunteered at EVO Japan 2025 and had a great time. Here’s some writing about my experience and some pretty pictures.
Bottom of the blog