Please wait while GMAO loads. When it asks you if you want to run
GMAO, please click "Start".

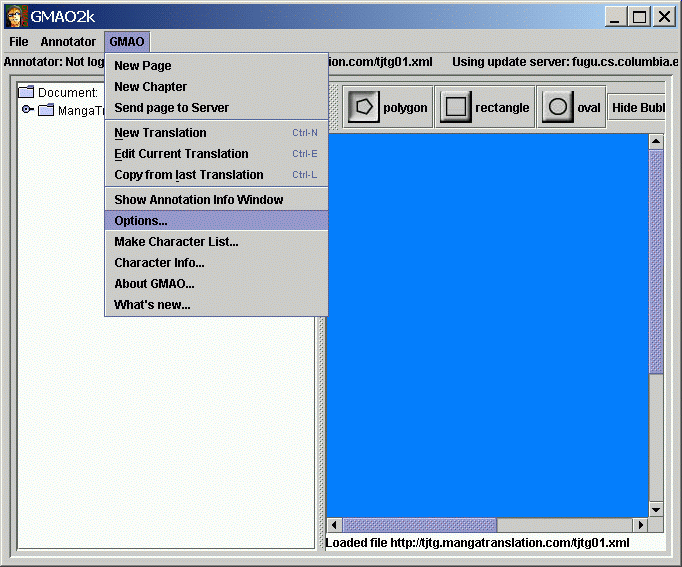
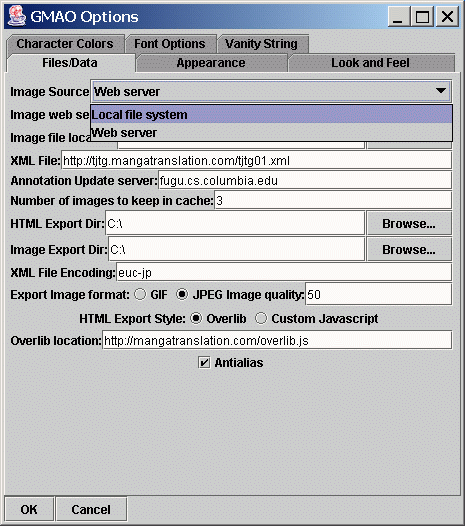
You will want to load images from your hard disk, so please set the
"Image Source" to "Local file system". You also will need to tell
GMAO what directory all of your raw scans live in. To do that, set
the "Image file location" - you can use the Browse button to pop-up a
file chooser. You want to choose the directory that all the raw scans
are in.
Once you have done that, delete the "XML File" entry - this lets you
specify an XML file to load (over the web using http:// or locally
using a file URL (I always forget the syntax for that though. It
might be file://)). You should also delete the "Annotation Update
server" since the GMAOServer that I run on fugu.cs.columbia.edu won't
know about your translation project. (You can run your own GMAOServer
if you like - the code is included, but it isn't user friendly at
all... It is much worse than GMAO itself...)
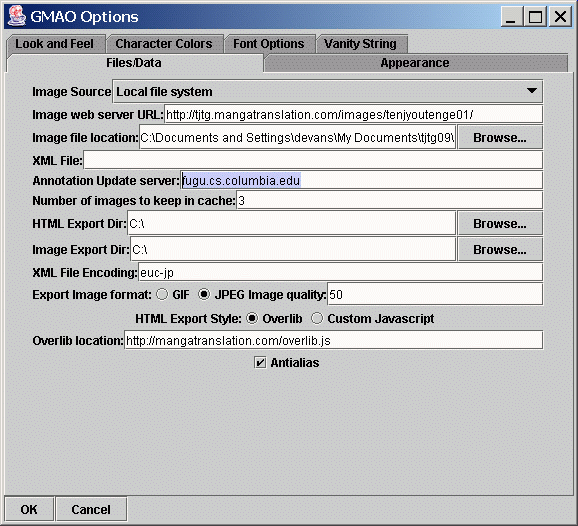
Next, you want to set up the directory that any HTML files or auto-edited images you make will be saved to. You can set that to whatever you want, using the Browse... button again. Auto-edited files are saved with an ae_ prefix, so they will not over-write anything in the directory (except previously generated auto-edited files.)
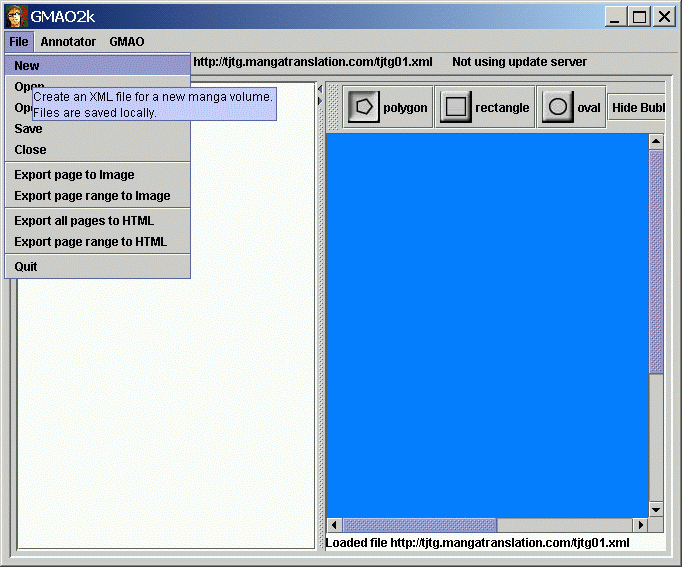
Next, you have to identify yourself as an annotator - even if you are
translating the documents locally, you need to create an annotator.
It is used internally to keep translations from different people
apart. You can use whatever you want for the fields, but you should
remember them since they have to match exactly next time. The
annotator name should be an email address, just because.
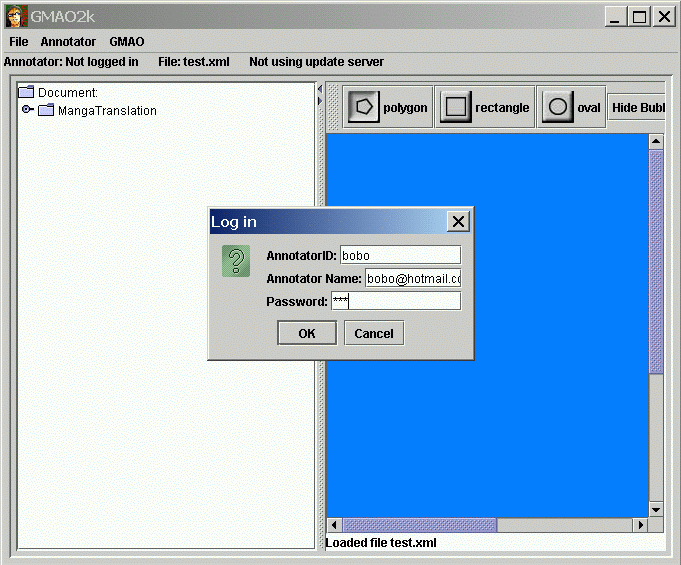
Next, you have to add the first chapter to the XML document. Go to
the "New Chapter" menu item in the GMAO menu. Answer the questions
(Chapter numer, and chapter title.) GMAO will number each successive
chapter automatically after you assign the first chapter a number.
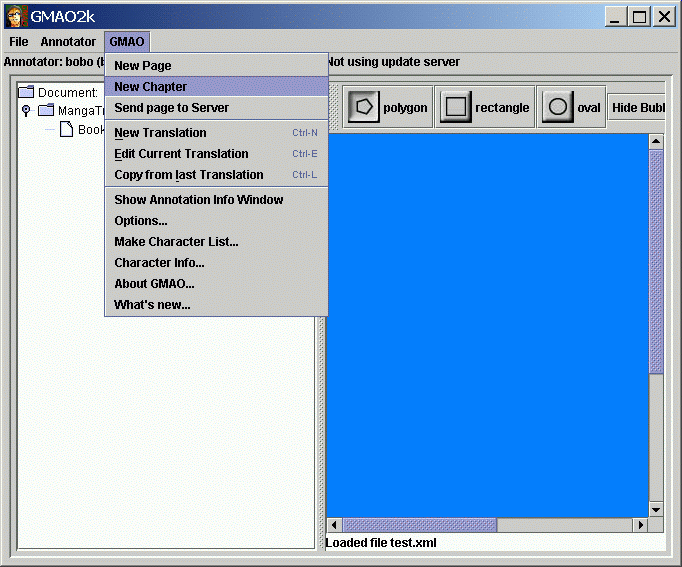
Next, you have to create the first page. Do that with the "New Page"
command. You will have to type in the name of a file to use - GMAO
will check that it exists, but does not give you an easy way to browse
for it. The file must be in the directory you specified back in the
options for "Image File location".
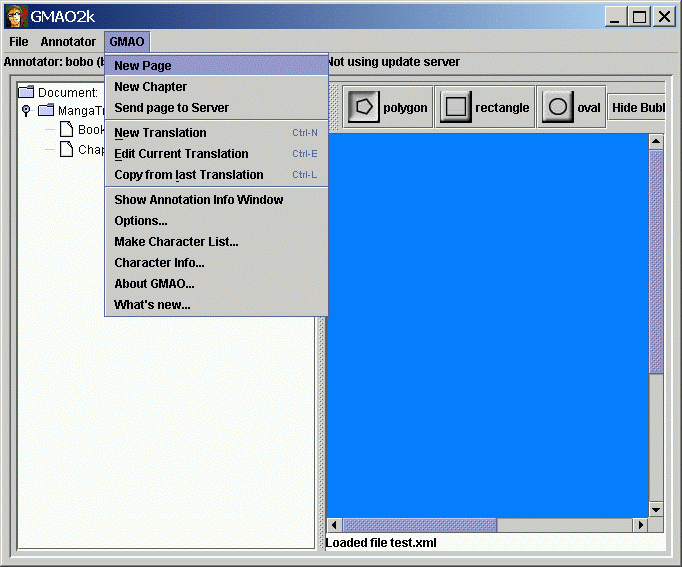
After this, you can make your annotations and translations as explained in the GMAO tutorial. Don't open the remote file though - now you have your own XML file that you can use. When you start GMAO next time, you can do a "File" "Open" command to open the XML file up again. The XML file does not save any options, so you will have to change those if you change projects - but the settings are saved every time you quit GMAO, so if you only work on one project at a time, you will be fine.
Be sure to save your work using "Save" from the "File" menu. Save often!!